BindTuning themes include several containers that you can use to visually wrap your content. We always recommend the use of these containers. Its easier and your content will look way nicer.
You can find all the available containers by opening the live preview of your theme at BindTuning.com.
Note: We have created our demo website using WebMatrix. So the following steps are based on a WebMatrix installation. If you haven't created your Orchard website with WebMatrix and need help access our community and leave your question there.
Before using a container
Set the theme as current
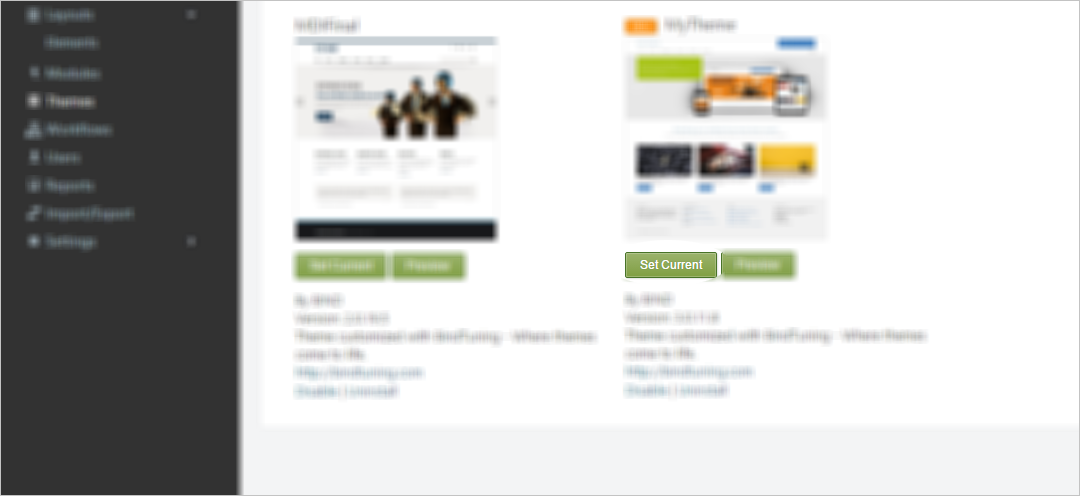
Your theme must be set as current to set up the container. Enter as admin on your dashboard and on the left menu click on "Themes".
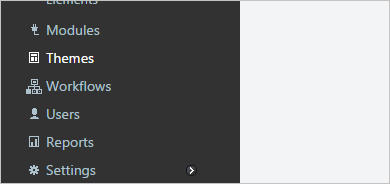
If the theme is not set as current set it before moving on.
Chose an option
When setting a container you need to specify the zone where you want the container to appear.
Some themes already include files with the name of the zones where you want to add the containers, and the containers are already set.
Others might not include the files with the zones where you want to add the containers. Other themes might not include these files at all. In these last two cases we need to create the files ourselves.
So in order to provide the best accurate instructions you will need to check if the theme already includes the .cshtml file corresponding to the zone where you want to add the container.
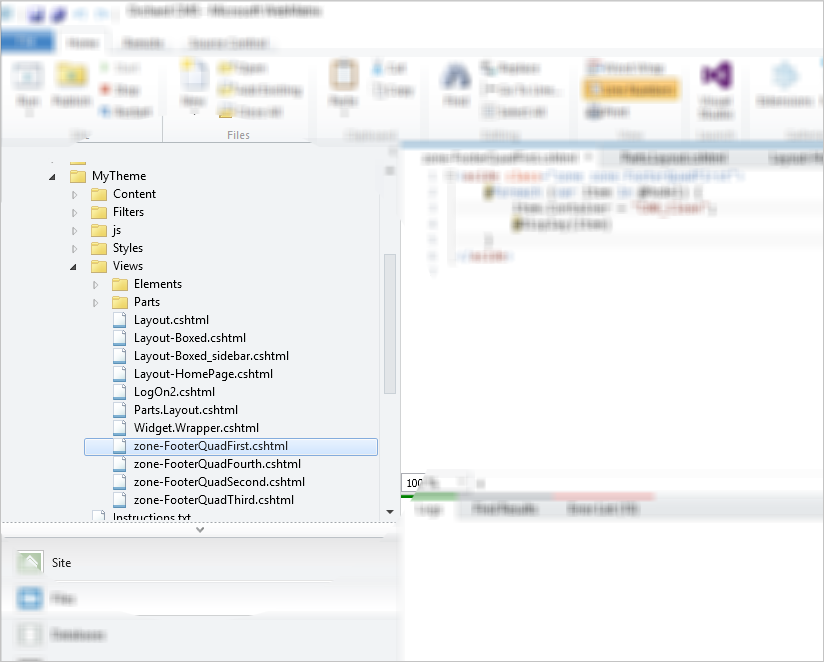
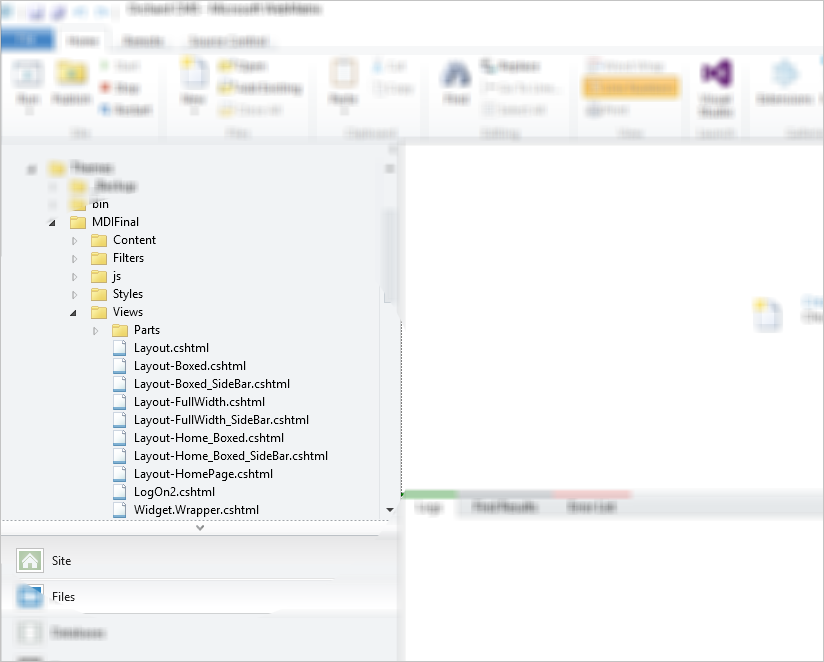
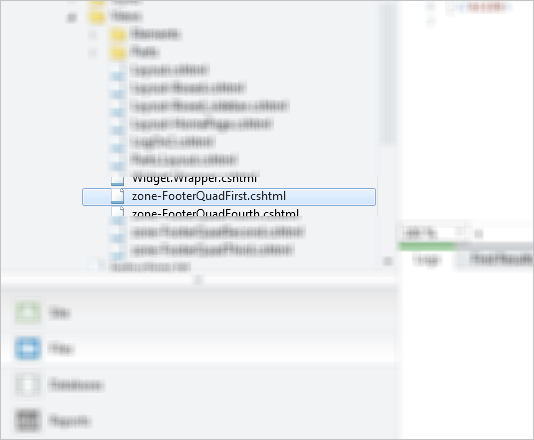
Open "your theme" folder and open the "Views" folder. Inside the "Views" folder look if there is any file with the zone where you want to add the container. These files terminoloy is zone-nameofthezone.cshtml.
Chose one of the options before moving on:
-
Option 1, my theme does not include the .cshtml file of the zone where I want to add the container.
-
Option 2, my theme already include the .cshtml file of the zone where I want to add the container.
Option 1
Well in this case you will need to create a .cshtml file of the zone where you want to add the container and set the container you want use.
Ready for this?
Chose the zone
First chose the zone where you want to add the container. Do you want to add it in the "Before Main" zone? Or in the "Main Content" zone?
To chose which zone you will add the container start by opening BindTuning.com. Select the platform and from the theme gallery select the theme.
Now click on "live preview" to open the builder. Inside the builder click on "Structure", from the top menu, and then "Zones". Inside the "Zones" page you will find all the available zones for your theme.
Chose one of the zones and copy the name of the zone.
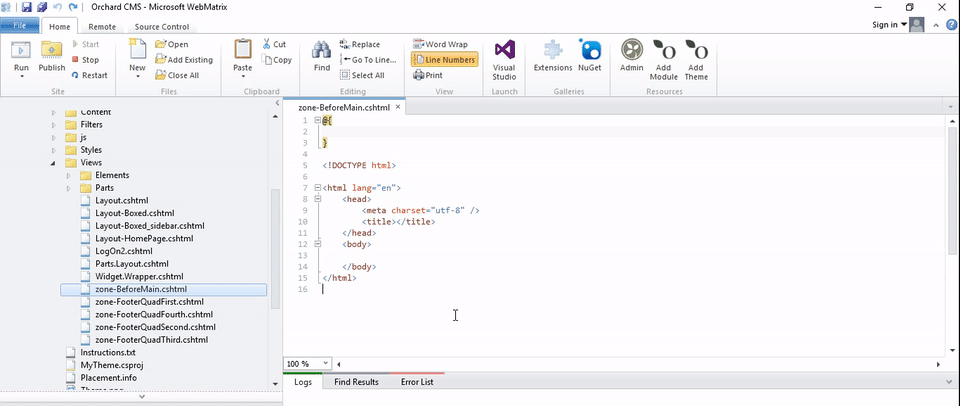
Create the zone .cshtml file
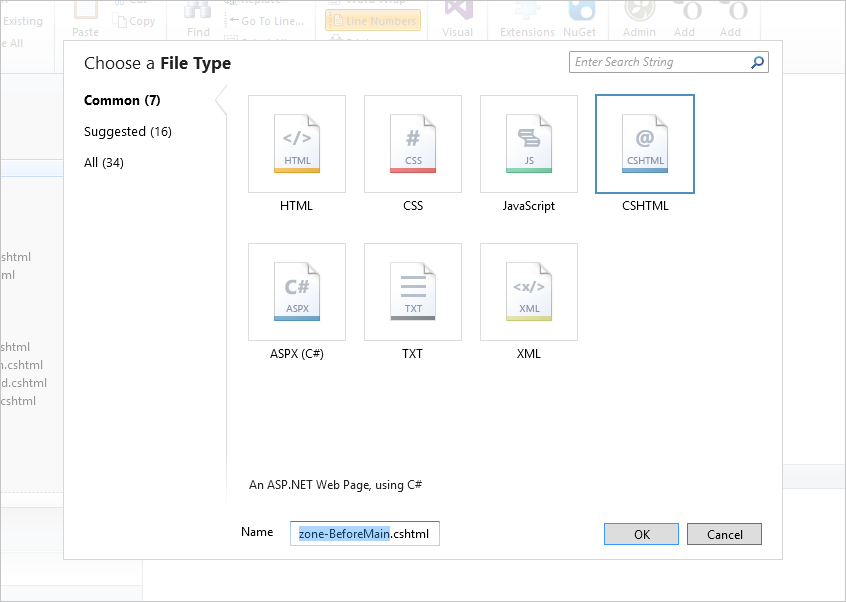
Right click on the "Views" folder to create a file. Choose the type of file, in this case is .cshtml, and name it - the name must have the following terminology: [zone-(nameofthezone)].cshtml.
The "nameofthezone" is the name of the zone you have copied during the Confirm the zones step.
Set up the container
Now that you have created the file we can set up the container.
Delete the auto generated content inside the new .cshtml file and copy the following code and paste it in your [zone-(nameofthezone)].cshtml file
<aside class="zone zone-[ZONE_NAME]">
@foreach (var item in @Model) {
item.Container = "[CONTAINER_NAME]";
@Display(item)
}
</aside>
[ZONE_NAME], replace it with the name of the zone where you are setting the container. The name you have set during the Creating the file step.
[CONTAINER_NAME], replace it with the container you want to use. You can confirm the name of the containers available for your theme. You can do this by opening "your theme" folder and opening the "Styles" folder.
So it would result in something like this:
<aside class="zone zone-BeforeMain">
@foreach (var item in @Model) {
item.Container = "C01";
@Display(item)
}
</aside>
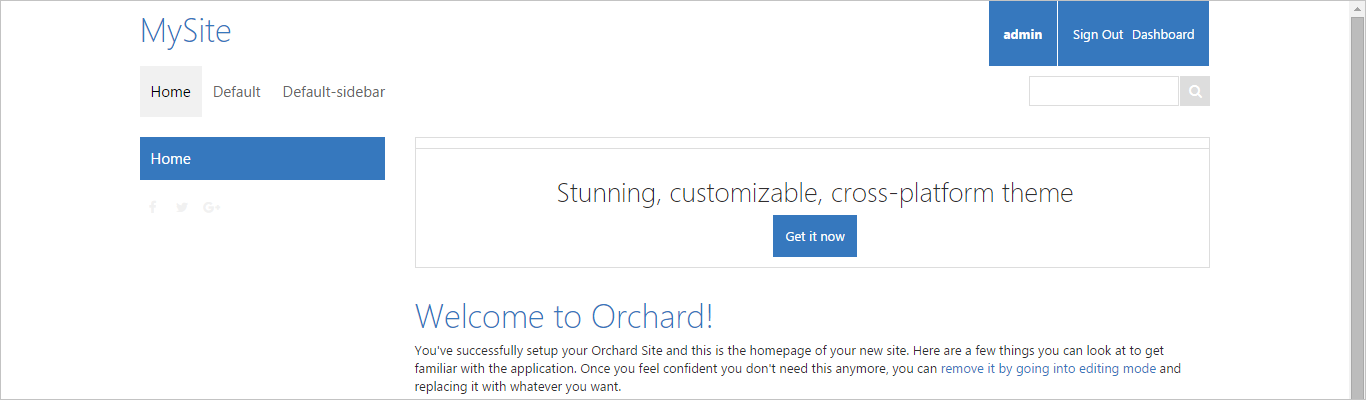
Save and that's it!
The result:
Option 2
Awesome! Half of the work is done.
All you need to do now is check if the container that is set in your zone-nameofthezone.cshtml file is the one you want to use.
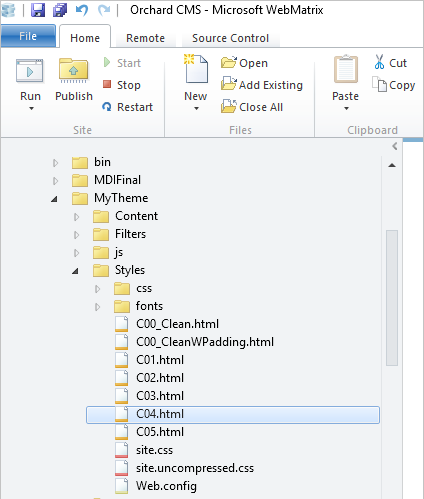
If its not, you will need to change it. First confirm the containers available for your theme. You can do this by opening "your theme" folder and opening the "Styles" folder
You can also open your theme with the live preview at BindTuning.com
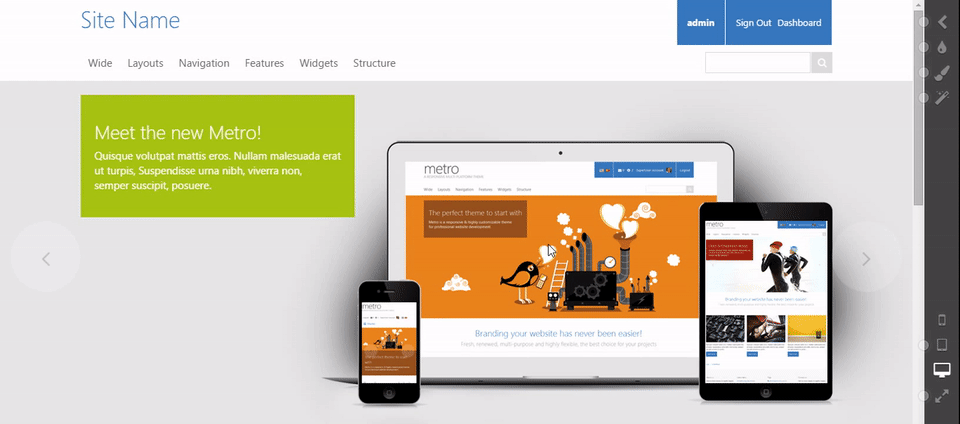
In our case we are using the Metro theme, which also include the file of the zone where we want to add the container.
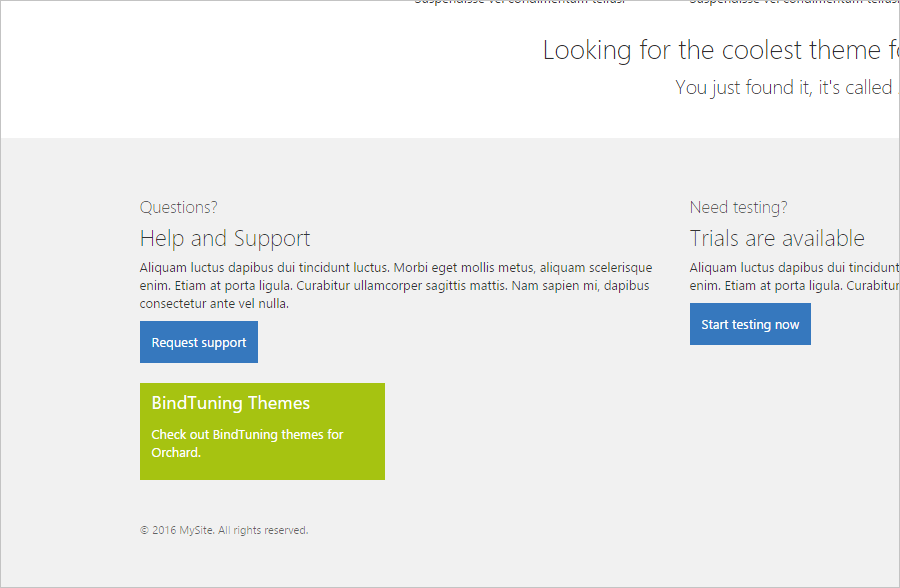
So the only thing we need to do here is to change the item.Container from "C00_Clean" to "C02", save and that's it!

The result:
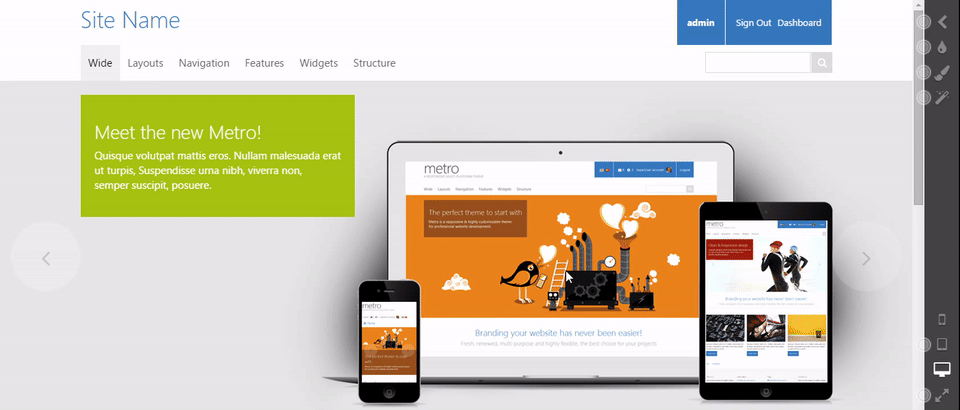
What an awesome looking website! Now you can start adding your content and share your vision with the World. Good luck!